How to Seal a Mylar Bag (Iron, Hair Straightener, Impulse Sealer)
You don't need special gear to seal mylar. How to get an airtight seal with a household iron, a hair straightener, or an impulse sealer.
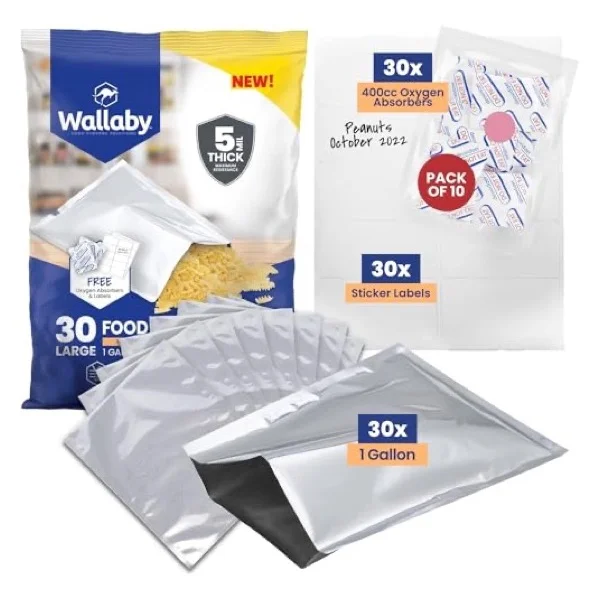
Mylar seals with heat, and you almost certainly already own something that does the job. The goal every time is the same: a straight, fully fused line across the top of the bag with no gaps.
Three tools that work
- Household iron (best for gallon and bucket bags): set it to a high, no-steam setting, lay the bag mouth flat over a hard straight edge like a board or ruler, and press the iron slowly along the top.
- Hair straightener (easiest for quart and smaller bags): clamp it over the bag mouth and draw it slowly across. Its flat plates make a clean seal with no extra setup.
- Impulse sealer (fastest for lots of bags): a dedicated tool that presses and heats in one step, worth it if you seal in bulk.
The steps
- Fill the mylar bag, leaving a few inches of headspace to seal.
- Add the oxygen absorber, sized to the bag.
- Press out the loose air and lay the bag mouth flat.
- Run steady heat across the top in one pass, leaving a straight seal about a quarter inch or wider.
- Let it cool a second, then tug the seal to make sure it held. Re-run any spot that peels.
Seal in one session. Oxygen absorbers start working the moment they meet air, so add the absorber and seal right away rather than filling bags now and sealing later.
Common mistakes
Sealing too fast leaves gaps; sealing too slow can melt through the bag, so practise on the first bag. Leave enough headspace that food isn't in the seal line. And thicker 7-mil bags need a touch more heat than thin ones.
The verdict
An iron or a hair straightener seals mylar as well as any dedicated gadget. Add the absorber, press out the air, run one steady pass, and tug to check. That's a decades-long seal with tools you already have.
Seal mylar with a household iron for big bags, a hair straightener for small ones, or an impulse sealer for volume. Add the oxygen absorber, press out the air, run one steady medium-high pass for a straight seal, and tug it to confirm. No special equipment required.
Frequently asked questions
What can you use to seal a mylar bag?
A household iron pressed along a hard edge (best for big bags), a flat hair straightener (easy for small bags), or an impulse sealer (fastest for volume). Add the oxygen absorber first, press out the air, then seal across the top.
What temperature seals a mylar bag?
A medium-high heat works for most bags; an iron on a wool or cotton setting is a common starting point. Test on a scrap: the seal should be fully fused with no gaps, running the tool slowly for a solid line.
How do I know the mylar seal is good?
The seam should be continuous and fused, with no wrinkles or gaps, and it should not pull apart. Press the bag gently to check it holds air. A day later a properly sealed bag with an absorber looks drawn in.
Some links are affiliate links: if you buy through them we may earn a commission at no extra cost to you. It never changes our rankings. Full disclosure.